First Impressions: A Well-Worn Galaxy A70
The Samsung Galaxy A70 arrived in a less-than-ideal state. The OLED panel was exposed and cracked internally, though the glass itself remained intact—a quirk often seen in OLED screens. Signs of prior repairs were evident, as I could lift the screen with minimal effort.
This phone’s repair history hinted at a rough past, but I was determined to bring it back to life.
Disassembling the Galaxy A70
Removing the Screws and Frame
Samsung phones have a standard design with Phillips screws securing the back. After unscrewing them all, I pried off the frame. This particular A70’s orientation was different from others I’ve repaired, requiring some adjustment to remove the back panel.
First Observations
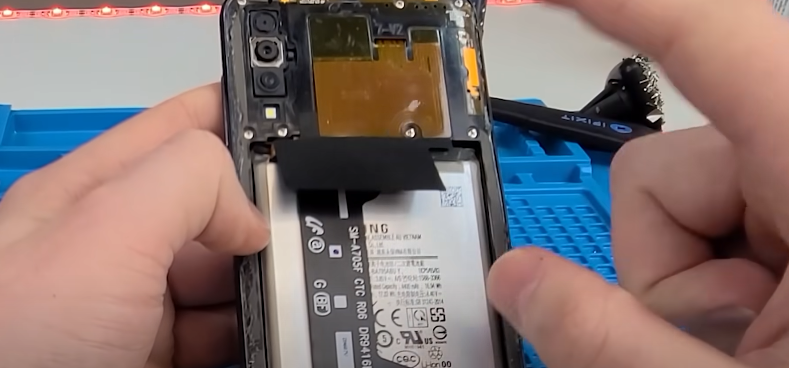
- Battery: Slightly swollen but not alarming.
- Previous Repairs: Missing screws and poorly applied adhesives were clear indicators of a rushed repair job.
With everything exposed, I began carefully unplugging components, including the long double-sided ribbon cable, logic board, and damaged vibration motor.
Testing the Phone’s Functionality
New Screen Installation
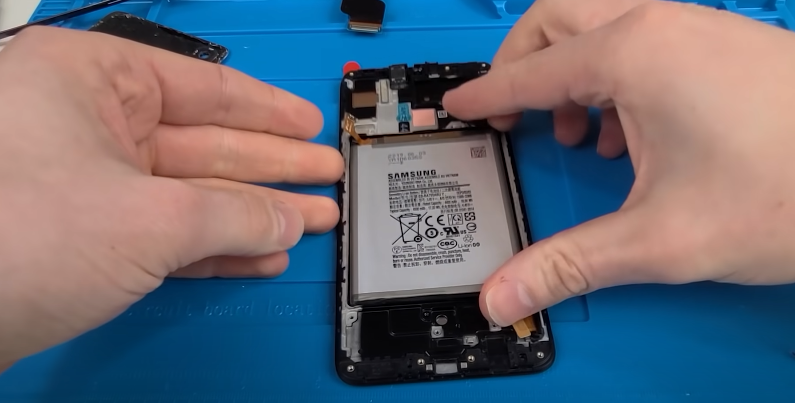
The replacement screen came pre-installed with a frame, making the transfer process smoother. I first reassembled the essentials—logic board, charging port, and battery—to test the phone’s functionality.
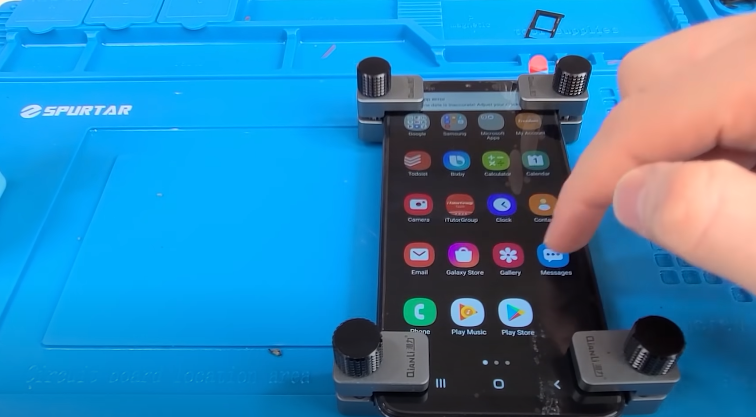
Surprisingly, despite its rough condition, the phone powered on! The owner opted for an LCD replacement instead of an OLED for cost reasons, and the new display worked flawlessly.
Diagnostic Tests
Using Samsung’s built-in test menu, I verified key functions:
- Touch Sensitivity: Fully responsive across the screen.
- Other Features: All essential components, aside from the vibration motor, appeared functional.
Completing the Repair
Transferring Components
With the phone working, I transferred and secured all components, including the fingerprint scanner and earpiece speaker. The missing adhesive from previous repairs was replaced with strips to hold the battery firmly in place.
Reassembly
After reinstalling the logic board and other components, I secured the back panel using fresh adhesive and clamps to ensure a tight seal. The process was straightforward, as Samsung phones generally follow a consistent design philosophy.
Final Touches and Testing
Once fully assembled, I performed another round of testing to ensure everything was running smoothly. The fingerprint scanner, despite its small size, functioned perfectly.
Reflection on the Repair
This was my first time repairing a Galaxy A70, and it turned out to be an easy and rewarding experience. Samsung phones, in general, share a similar repair structure, making them approachable even for beginners.
