The iPhone 6s is a classic device, but this one has seen better days. Someone disrespected it by pairing a black home button with a white screen, a cracked display, peeling glue, and a battery that can no longer hold a charge. Let’s restore some dignity to this phone by fixing it up properly.
Assessing the Damage
Here’s what we’re working with:
- A mismatched home button and screen.
- A cracked and poorly glued LCD screen.
- Missing bottom screws.
- A battery that no longer holds a charge.
Despite the state of this phone, we’re optimistic about giving it a new life.
Step 1: Opening the Phone
1. No Bottom Screws
The absence of bottom screws makes opening the device easier, but it raises concerns about what else might be wrong.
2. Removing the Screen
The display is glued down with T7000 adhesive, which is frustrating to deal with, but persistence pays off. Inside, the screws appear to be where they should be—mostly.
Step 2: Replacing the Battery
1. Disconnect the Battery
Always disconnect the battery first to avoid electrical issues during the repair.
2. Removing the Taptic Engine
The Taptic Engine, which provides haptic feedback, connects via two pins. It’s easy to remove and set aside.
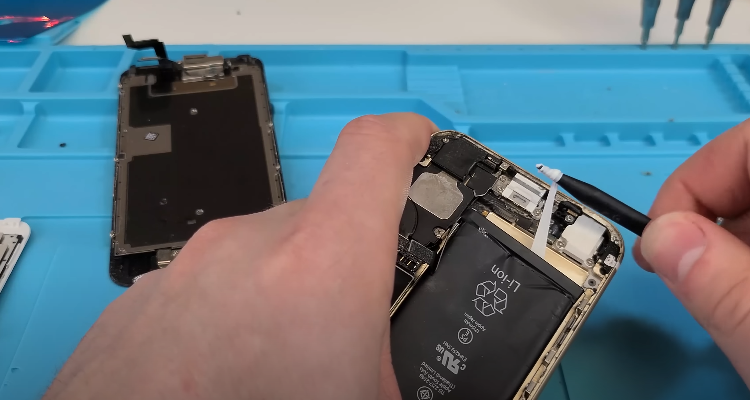
3. Removing the Battery
- The battery is held in place with two pull tabs, notorious for breaking.
- Thankfully, both tabs came out intact this time.
Why Not Use Apple Original Batteries?
Genuine Apple batteries are hard to verify and often illegal to sell as aftermarket parts. High-quality third-party batteries work just as well, so that’s our choice.
Step 3: Replacing the Screen
1. Removing the Old Screen
Unscrew the home button and front earpiece speaker. Be gentle with the home button—it’s fragile and prone to breaking if handled roughly.
2. Prepping the New Screen
Transfer the home button and speaker to the new screen. Ensure everything is aligned and secure before reassembly.

Step 4: Cleaning and Sealing
1. Cleaning the Housing
Use isopropyl alcohol and a spudger to remove old adhesive and debris from the phone’s edges.
2. Applying the Seal
Install a new dust and water-resistant seal around the frame for added protection. Align it carefully and press it down along the edges to ensure a snug fit.
Step 5: Reassembling the Phone
1. Installing the New Battery
Place the new battery in position and reconnect it.
2. Reattaching the Screen
- Align the screen with the frame and press it into place, starting at the top and working down.
- Listen for the satisfying “crunch” as it snaps securely into the frame.

Step 6: Testing and Finishing Touches
1. Powering On the Device
Most new batteries come with a charge. This one powered on with 61% battery life, which is a good sign.
2. Testing Functionality
The phone’s touch and display work perfectly. While the phone is disabled, it’s evident that the restoration is a success.
3. Final Steps
- Clean the device thoroughly.
- Locate and install new bottom screws to complete the repair.
