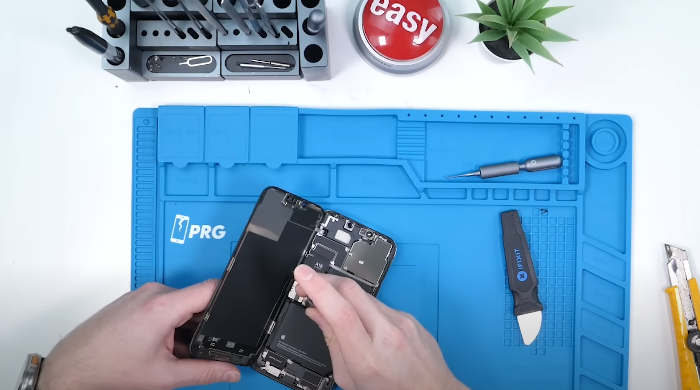
Step 1: Removing the Screen
Before we can start refurbishing the display, we need to carefully remove the screen. This requires detaching various components, including the proximity sensor and ambient light sensor.
- Heating the Screen: Using a display remover tool, we apply heat to loosen the adhesive. If you’re interested in the tools we use, check the links on our website.
- Separating the Screen: Once the adhesive softens, we gently lift the screen using the tool.
- Detaching Components: The sensors and connectors on the display are carefully removed to avoid damage.
Now that the screen is separated, it’s time to move on to the actual refurbishing process.
Step 2: Understanding the Display Structure
An iPhone display consists of three main components:
- The Frame: The outer structure that holds the display.
- The OLED: The main display panel.
- The Glass: The top protective layer.
For this process, we only need to replace the glass. Unlike previous models, the iPhone 13 Pro Max has a frame that doesn’t need to be removed to replace the glass, making the process a bit more straightforward.
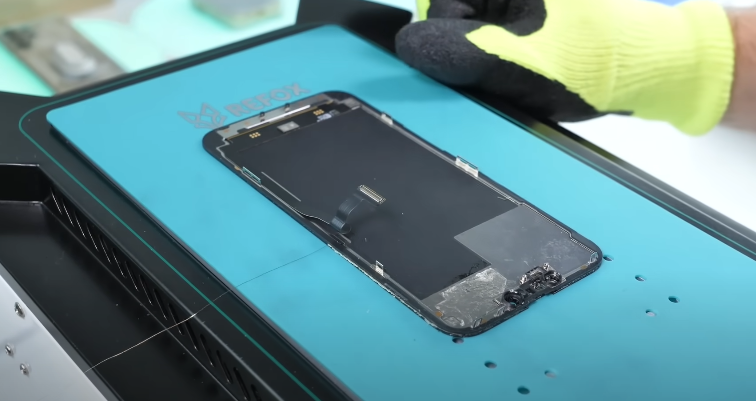
Step 3: Preparing for Glass Removal
To remove the glass, we use a Refox refurbishing machine. This machine handles multiple tasks, including heating, vacuum-sealing, and debubbling.
Setting Up the Machine
- Vacuum Setup: The machine’s vacuum feature holds the screen firmly in place.
- Temperature Control: We set the flatbed temperature to 110°C. This is hot enough to loosen the glue without damaging the OLED.
- Safety Precautions: Heavy-duty gloves are essential as the cutting wire can easily cause injury.
Cutting the Glue
With the vacuum on, we begin cutting through the adhesive using a thin wire. This step requires precision and patience to avoid damaging the fragile OLED panel.
Step 4: Cleaning the OLED Panel
Once the glass is removed, we need to clean the OLED panel thoroughly. There are two methods to do this:
- Mechanical Cleaning: Using a rotating tool that scrapes off the glue.
- Chemical Cleaning: Applying a special OCA glue remover to dissolve the remaining adhesive.
Maximum protection is essential during this step, as the cleaning liquid is toxic. After cleaning, we test the OLED panel to ensure it still functions properly.
Step 5: Applying the New Glass
Now that the OLED is clean and functional, we can attach the new glass. This glass comes pre-coated with OCA glue, making the process easier.
- Aligning the Glass: We carefully place the new glass on the OLED.
- Lamination and Debubbling: The Refox machine handles this part by creating a vacuum and applying pressure to fuse the glass and OLED together while removing any air bubbles.
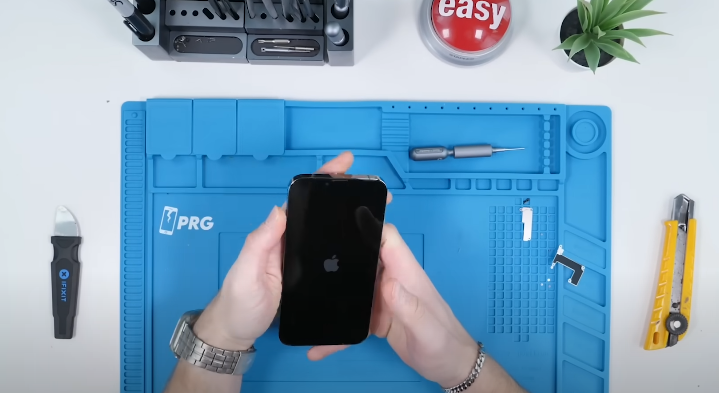
Step 6: Final Testing and Installation
After running the lamination process a few times to ensure no bubbles remain, we test the display again. We reconnect the battery, boot up the phone, and check the following:
- Display Quality: The screen lights up with no dead pixels or discoloration.
- Touch Functionality: The touch screen works perfectly.
- True Tone Feature: True Tone remains intact, which is a feature often lost during standard screen replacements.
- Error Messages: No error messages appear because the phone still recognizes the screen as the original one.
Why Don’t All Repair Shops Do This?
You might wonder, if this method is cheaper, why don’t more repair shops offer it? The answer lies in the time and effort required. While replacing an entire screen takes less than an hour, refurbishing a screen can take up to 8 hours, with no guarantee of success. For most shops, it’s more efficient to replace screens outright unless the cost of a new screen is prohibitively high.
However, shops with the right equipment can refurbish multiple screens at once during downtime, making it a viable business model.
