Dropping your phone can be a heart-stopping moment, especially when you’re in a rush and on a budget. The dilemma: Can you fix it without spending a fortune or having the right tools? We decided to test this by repairing a phone using only items from dollar stores like Dollar Tree and Dollarama. Spoiler alert: It wasn’t easy, but it worked—kind of.
Tools from the Dollar Store: Not Ideal but Doable
Our dollar store haul included:
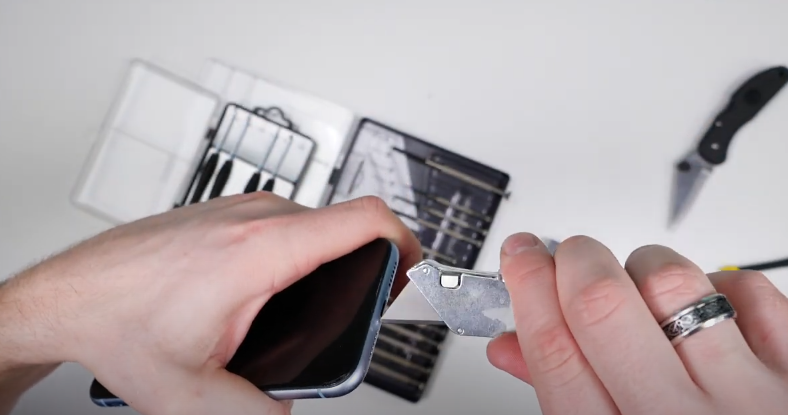
- Folding knives to mimic a “jimmy tool” for prying open the phone.
- Phillips and slotted screwdrivers (not the pentalobe or tri-point tools we actually needed).
The biggest challenge? Getting the phone open without the correct screwdrivers.
Opening the Phone: A Risky Business
Right off the bat, the pentalobe screws at the bottom of the phone were a nightmare. Without the right tool, I resorted to using a knife, which was risky and not recommended. Stripping the screws was unavoidable, so I decided to force the phone open—a process that cracked the screen but got the job done.
Pro Tip: Never attempt this unless you’re prepared to damage the screen.
Removing Internal Screws: Danger and Determination
Inside the phone, the screws securing various components posed another challenge. Tri-point screws are common in phones, but our dollar store tools weren’t up to the task. Using a razor blade as a makeshift tool was dangerous and led to some bloodshed.
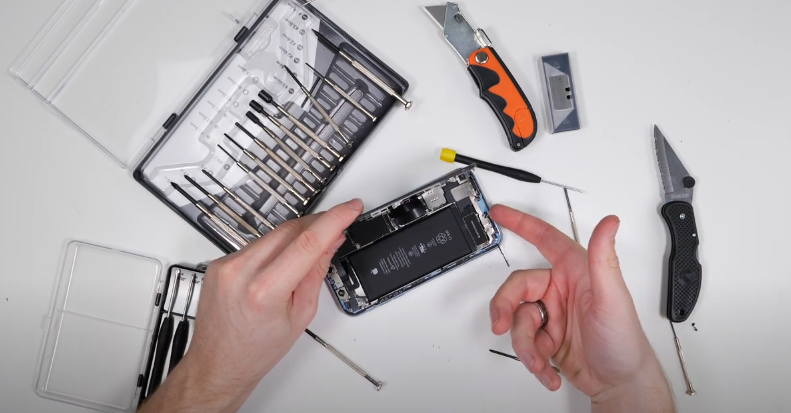
Safety Warning: Avoid working near the battery with sharp objects, as piercing it can cause sparks or even fires.
Despite the difficulties, I managed to remove most screws, though it took patience and perseverance.
Installing the New Screen
With the phone open, I transferred components like the front earbud speaker to a refurbished screen. Some screws were too difficult to reinstall, so I skipped them, focusing on what was absolutely necessary to get the phone working.
Note: Skipping screws and seals compromises durability and water resistance.
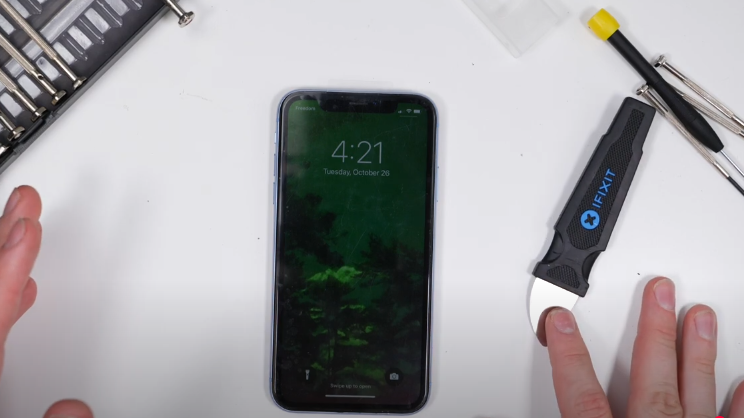
Final Assembly: The Crunchy Finish
Reassembling the phone involved bending the screw holes to fit the screen back in place. This was far from ideal and resulted in a few ominous “crunch” sounds, but the phone powered on and worked!
The Verdict: Functional but Flimsy
Using dollar store tools, I managed to repair the phone. While functional, the phone is fragile and not properly secured, making it less durable. With a case, you wouldn’t notice the difference—but this repair is a temporary fix at best.
Would I Recommend This?
No, unless you’re absolutely desperate and willing to take risks. Proper tools and professional repairs are always a better option.
Lessons Learned and Challenges for the Bold
This repair method was time-consuming, dangerous, and messy (hello, bleeding fingers!). Still, it’s a testament to resourcefulness. If you’re a repair shop or DIY enthusiast, I challenge you to try this—it’s harder than it looks!
