Google Pixel phones are renowned for their simplicity when it comes to repairs, especially screen replacements. The Google Pixel 5 is no exception. In fact, iFixit rated this phone’s screen replacement difficulty as moderate, though some may argue this assessment is slightly conservative. This guide will walk you through replacing the screen of a Pixel 5 with just glue and your nails — no tools required!
Understanding the Repairability of the Pixel 5
The Pixel 5 has a similar repairability level to the iPhone 13 Pro for one critical reason: attempting other repairs, such as a simple battery replacement, often risks damaging the screen in the process. However, for screen replacements alone, the Pixel 5 is relatively straightforward to handle.
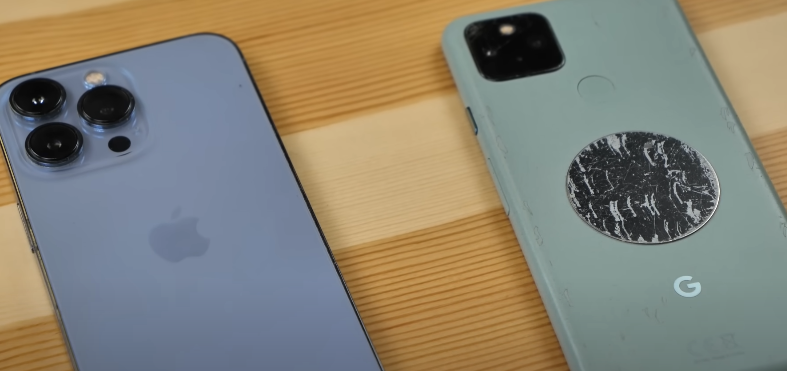
Here, we’ll fix a Pixel 5 with a broken display and camera glass, showcasing just how manageable this repair can be.
Step-by-Step Screen Replacement Guide
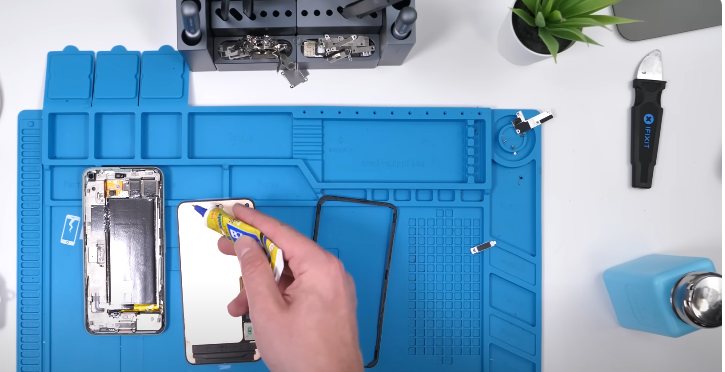
1. Preparing for the Repair
- The only “tool” required? Your fingernails.
- Ensure you have the correct adhesive for this task: B7000 or T7000 glue is the standard choice among phone repair technicians.
2. Separating the OLED Display
- Begin by using your nails to gently separate the OLED screen from the phone’s frame.
- This is where having slightly longer nails can come in handy.
- Be cautious, as OLED screens are fragile, though newer generations like the Pixel 5 are slightly sturdier.
- Once separated, open the phone to reveal its internal components.
3. Removing the Old Screen
- Detach the metal bracket holding the screen in place.
- Carefully lift the damaged screen from the frame.

-
- Pro Tip: This Pixel 5 is a personal device bought off eBay, not a customer’s phone, so proceed with extra care if working on a customer’s device.
4. Preparing the New Screen
- Transfer key components from the old screen to the new one:
- The camera bracket.
- The front earpiece speaker.
- Clean off any residual adhesive from these components.
5. Installing the New Screen
- Apply adhesive around the edges of the new screen.
- Reattach the frame and let the glue dry for a few minutes.
Replacing the Camera Bracket and Earpiece Speaker
1. Positioning the Components
- Use glue to secure the camera lens and earpiece speaker in their respective positions.
- Ensure the earpiece speaker aligns perfectly with its contact points by temporarily placing the screen to confirm alignment.
2. Securing the Components
- Re-glue the front camera bracket.
- Remove old adhesive residue and reinstall fresh adhesive around the phone’s edges.
3. Final Assembly
- Fully install the new screen, ensuring all components are firmly in place.
- Allow sufficient time for the glue to set before using the device.
The Outcome
With patience and precision, we successfully replaced the Pixel 5 screen without using traditional tools. While this method demonstrates the simplicity of the process, it’s essential to exercise caution and consider using proper tools for more professional results.
What’s Next?
The back camera glass replacement will be covered in an upcoming guide, so stay tuned for that!
